
Managing Space Members
Space Owners manage who belongs to their Space from Admin Panel → Users → Space Members. The tab is only shown to Space Owners and always acts on the active Space.

The list shows every member of the Space with four columns:
| Column | Meaning |
|---|---|
| Role | Space Owner or User. Click the badge to change the role (see below). |
| The member’s login. Click it to open the member’s details. | |
| Last Active | When the member last used Smartchat. Members who have not logged in yet show no date. |
| Created at | When the account was created. |
Adding a member
Section titled “Adding a member”- Click Add User above the list.
- Enter the person’s Email in the Add new member dialog and click Add.
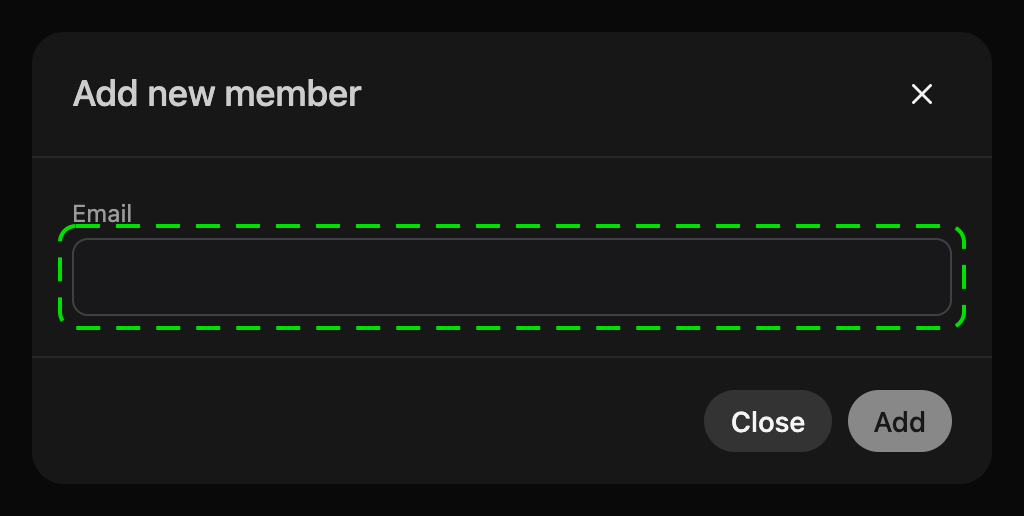
What happens next depends on the email address:
- The person already has a Smartchat account: they are added to the Space with the User role and see it in their Space selector on their next page load.
- The email is unknown: an account is created for them. They receive an invitation email from the identity provider, and they already appear in the list with the User role before their first login.
New members can chat, use the Space’s collections and see shared workspace items right away. To give them administrative rights, promote them to Space Owner.
Adding several members at once
Section titled “Adding several members at once”To add a whole team, switch the Add new member dialog to Several members and paste the email addresses into the text box. One address per line, separated by commas or semicolons, copied recipients from Outlook ("Doe, Jane" <jane.doe@example.com>) and a copied column from Excel all work; duplicates are dropped automatically.
Below the box you see how many addresses were recognised. Entries that are not email addresses are listed in red and must be fixed or removed before Add becomes available. Then click Add N members.
Each address is handled like a single add: existing accounts join the Space, unknown addresses get an account and an invitation email. When the request finishes, the dialog reports how many members were added and lists any address that could not be added with the reason. Copy failed email addresses puts those on the clipboard so you can fix them and try again; already added members are skipped on a retry.
Changing a member’s role
Section titled “Changing a member’s role”A Space has two roles: User and Space Owner. Owners get everything described in Space Administration; see Roles & Permissions for the complete matrix.
Either click the role badge in the list, or open the member (click the email) and pick the role in the Role selector of the Edit member dialog.
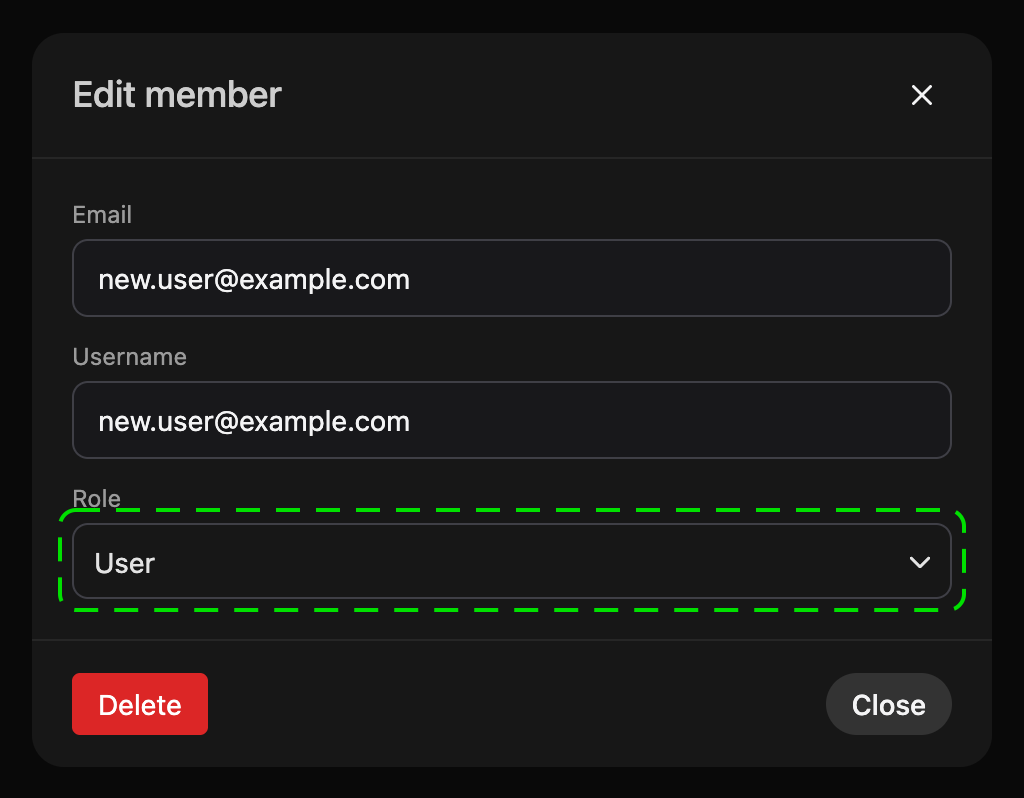
The new role is applied immediately, there is no separate save step. If the update fails, the badge flips back and a toast explains why.
Two rules apply:
- You cannot change your own role. Your own row shows a lock icon instead of a clickable badge. Ask another owner to promote or demote you.
- A Space keeps at least one owner. The last remaining owner cannot be demoted or removed.
Removing a member
Section titled “Removing a member”- Hover the member’s row and click the bin icon (Remove user), or open the member and click Delete in the Edit member dialog.
- Confirm with Remove.
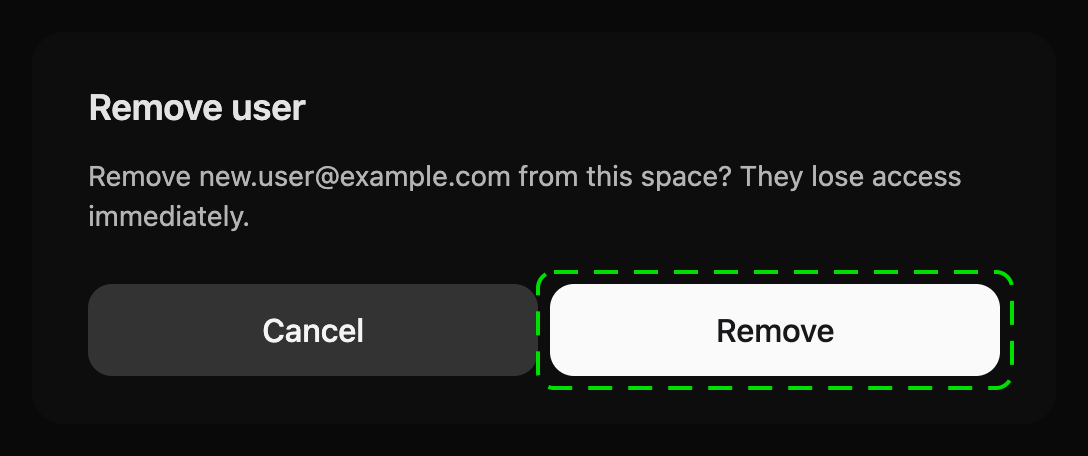
The person loses access to the Space immediately: they are removed from the Space itself and from all of its groups, including custom groups. Their Smartchat account and their other Spaces are not affected. You cannot remove yourself.
Restrictions
Section titled “Restrictions”- Default Space: its membership is managed by the identity provider. While the Default Space is active the badges are read-only and the Add User and remove controls are hidden.
- Space owner group: the Groups tab lists a group for the Space’s owners. It mirrors the roles above and cannot be edited there; Space Owners always have every permission.
- OpenWebUI-Admins who are not owners of the active Space see the Users overview but cannot add or remove members of that Space.