Workspaces & Collaboration
Understanding workspaces
Section titled “Understanding workspaces”A workspace is a logically separated container where all resources (documents, models, prompt templates, and permissions) for a specific use case are managed together. It allows multiple teams to work simultaneously and independently without their data overlapping.
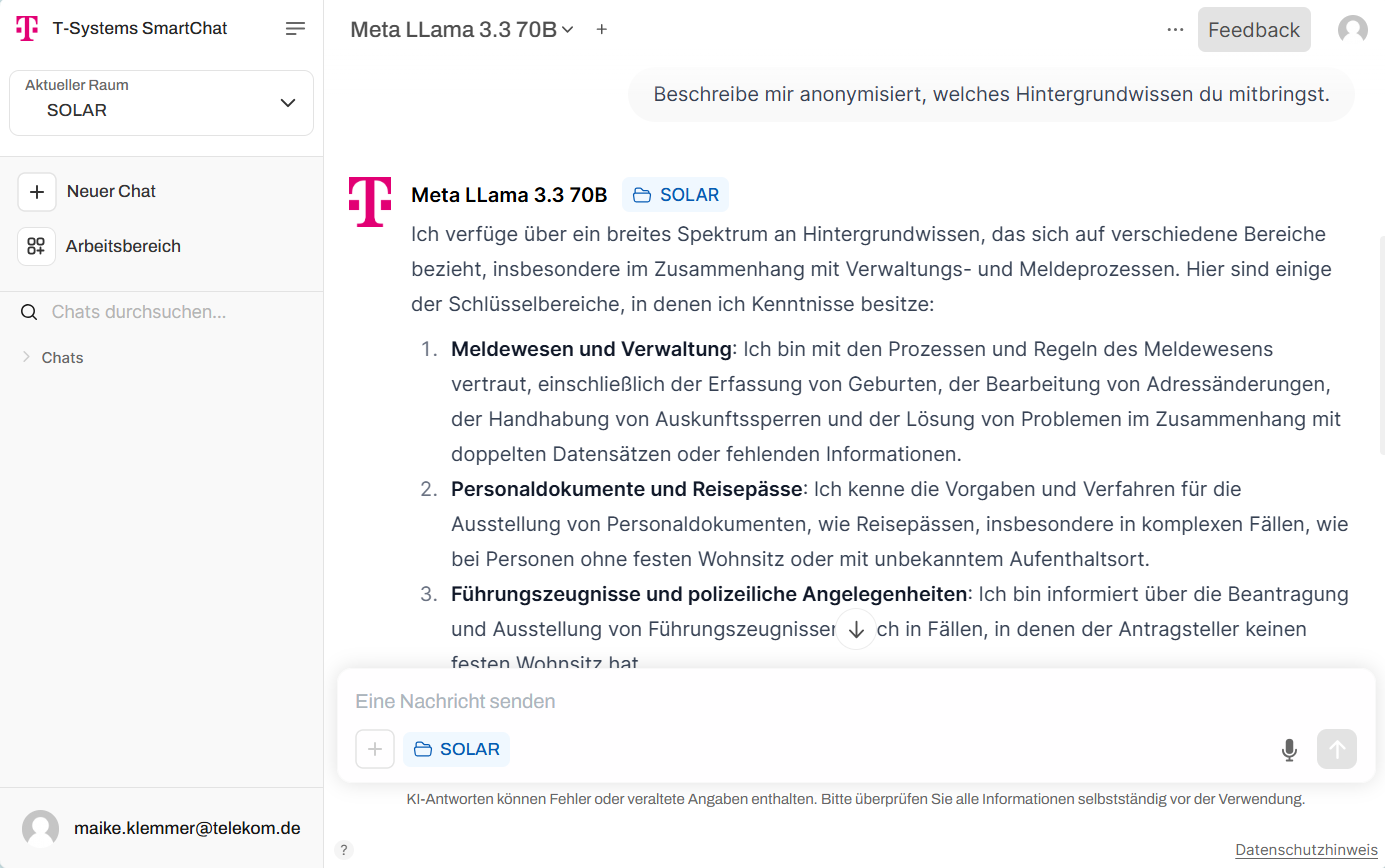
Data and knowledge provided by an organization via RAG are available by selecting the corresponding space. RAG spaces are set up and maintained by administrators.
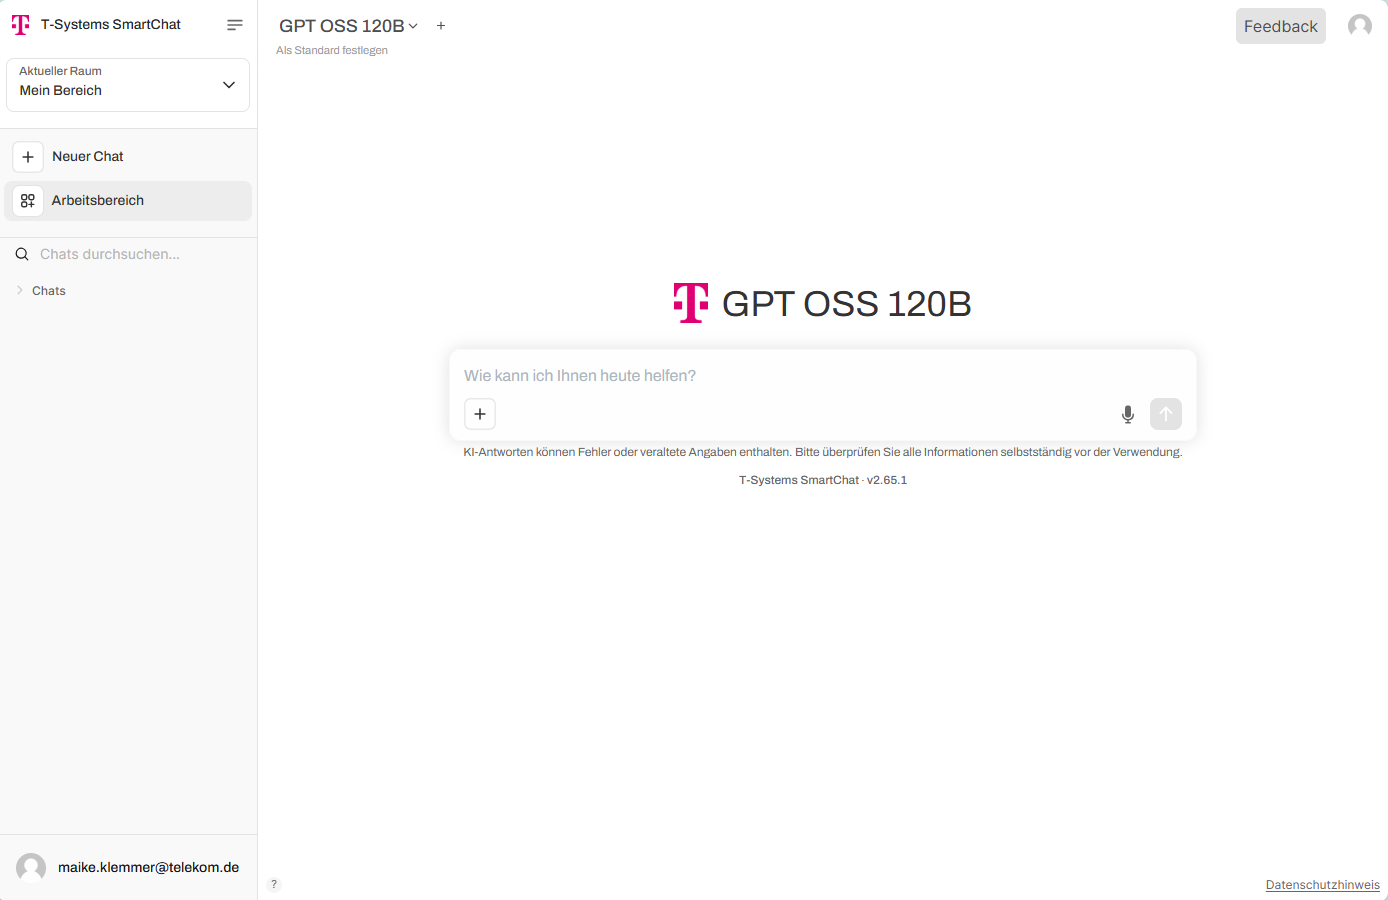
In the “Current Space” dropdown menu at the top left, you can select the space you want to work in:
- “My Space” is the default space where you can use local data by uploading documents in the chat dialog or through local knowledge.
- In addition to custom knowledge, you can also create and manage assistants and prompt templates.
- These resources can be integrated to optimize workflows and shared with entire teams.
The visibility and accessibility of resources depend on the assigned permissions. Self-created resources in your own workspace are separate from the RAG spaces provided by the organization.
Navigating the workspace
Section titled “Navigating the workspace”Open the workspace by clicking “Workspace” in the left sidebar.
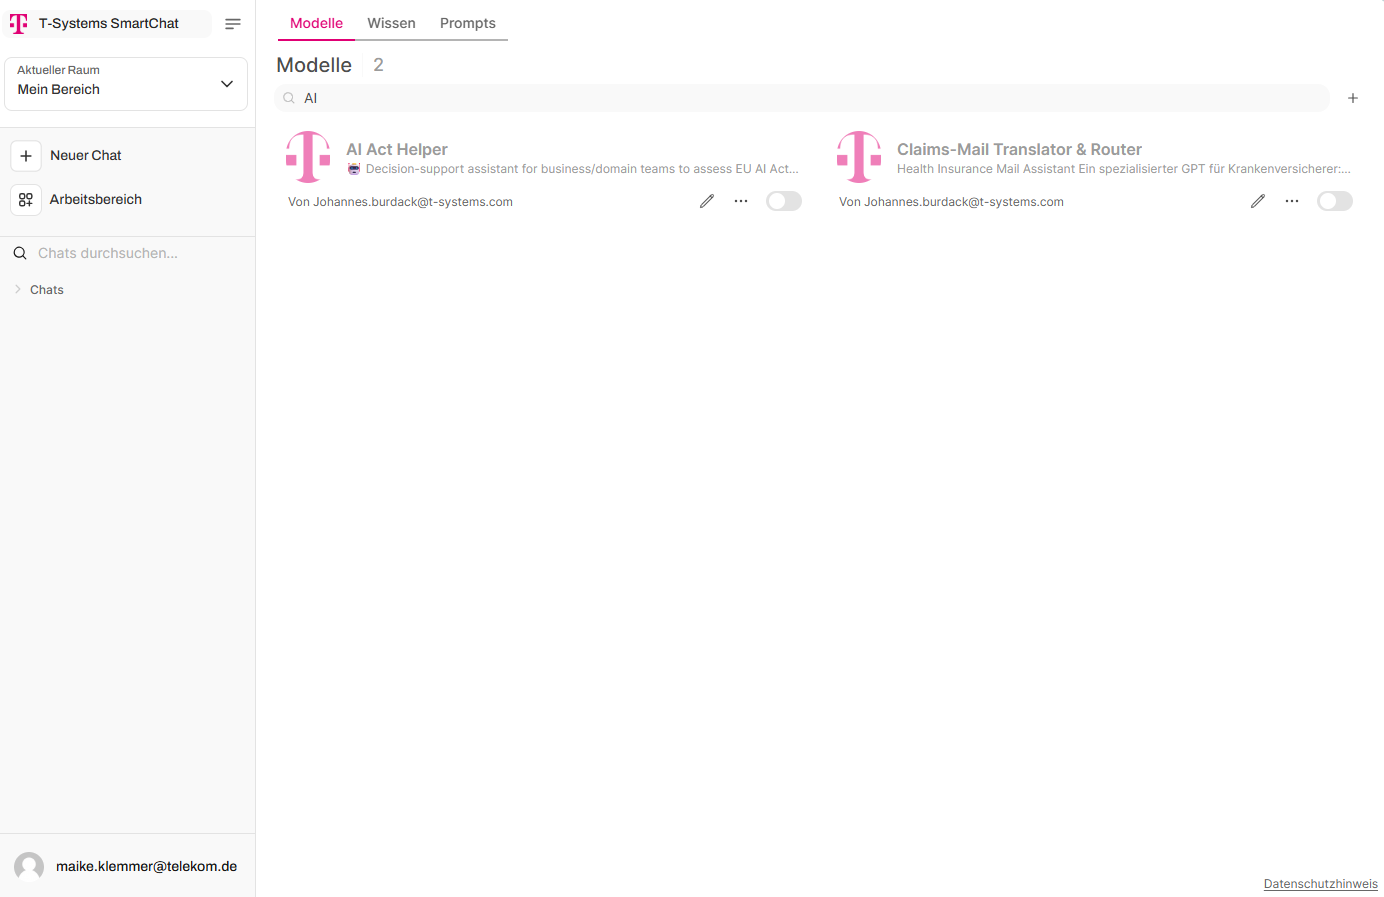
The workspace is divided into tabs along the top bar: Assistants, Knowledge, Prompts. Each tab lets you create, edit, and configure the respective elements.
Permissions and sharing
Section titled “Permissions and sharing”Resources within the workspace can be shared with selected teams with read or write access. Once a group has been added, you can toggle the access level by clicking the WRITE/READ button. The “X” next to it removes access for that group entirely.
Assistant permissions
Section titled “Assistant permissions”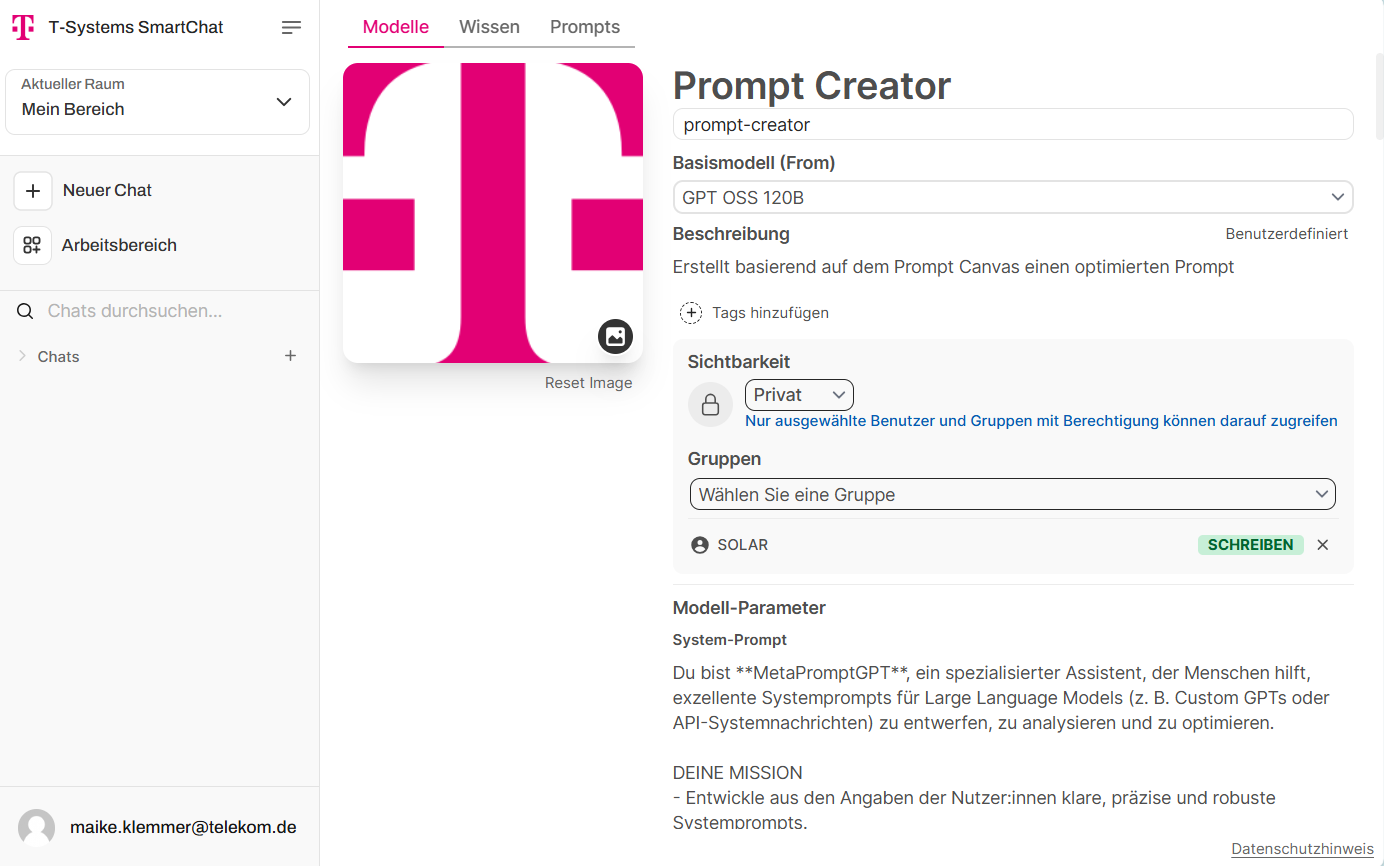
Knowledge collection permissions
Section titled “Knowledge collection permissions”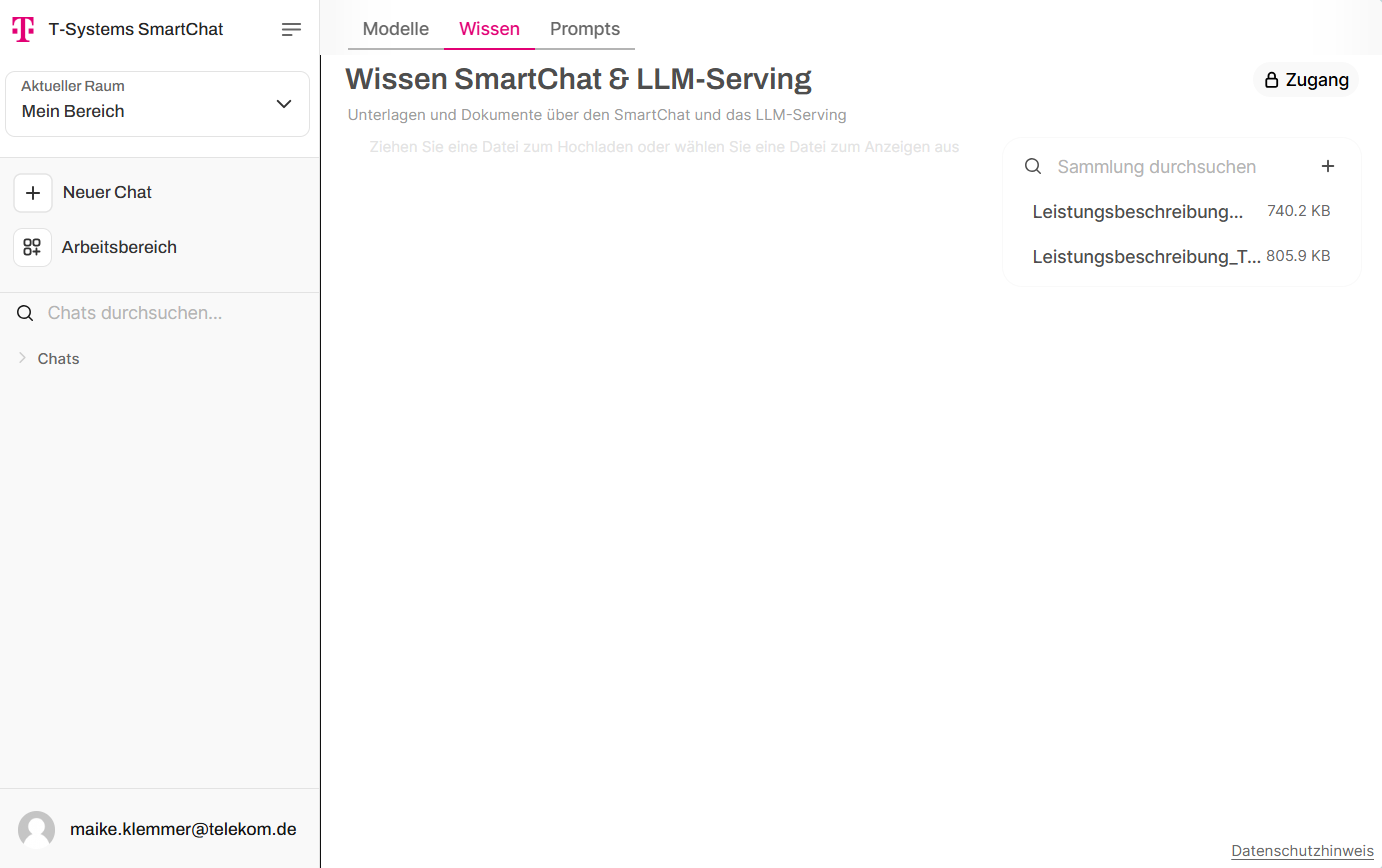
Prompt template permissions
Section titled “Prompt template permissions”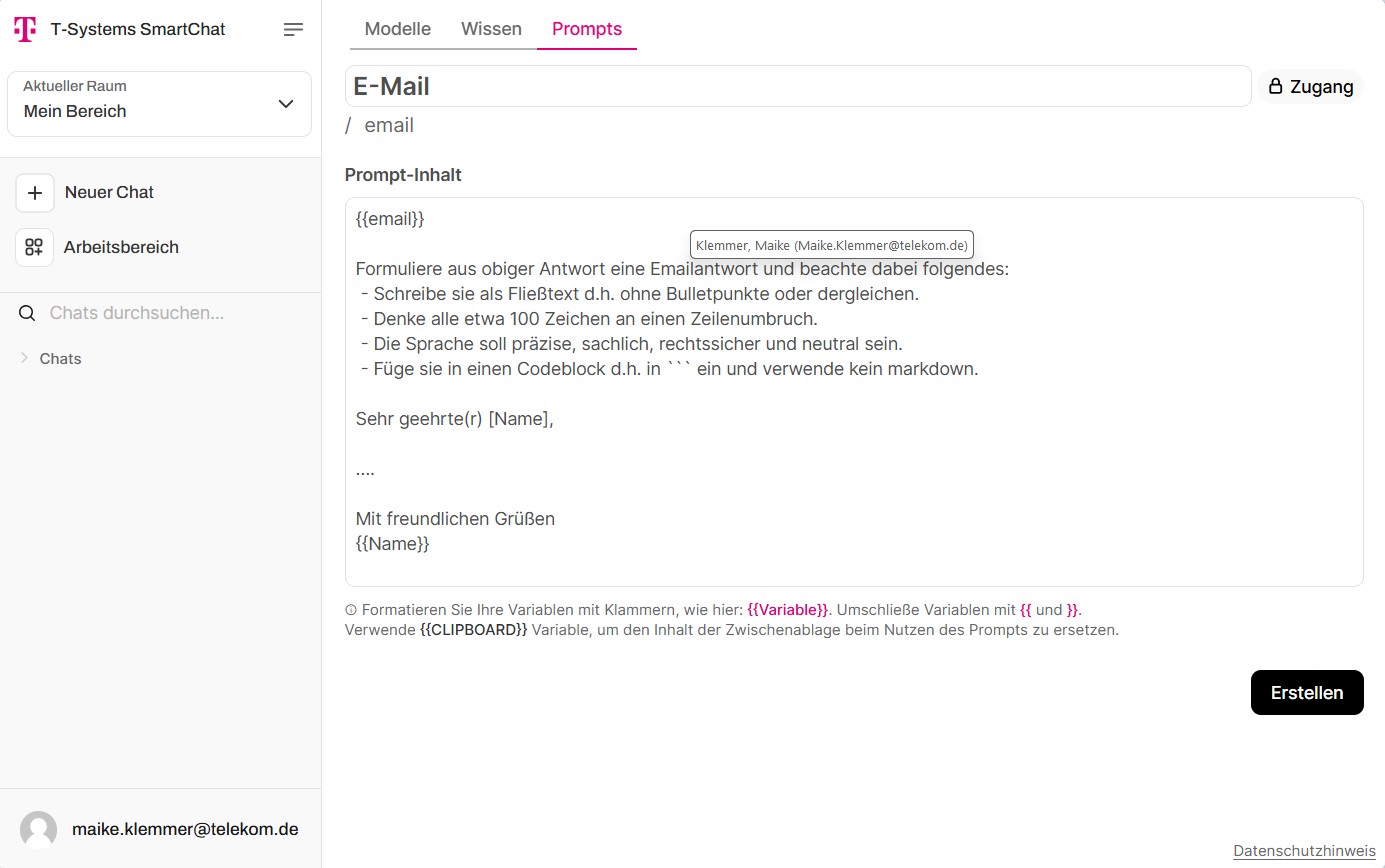
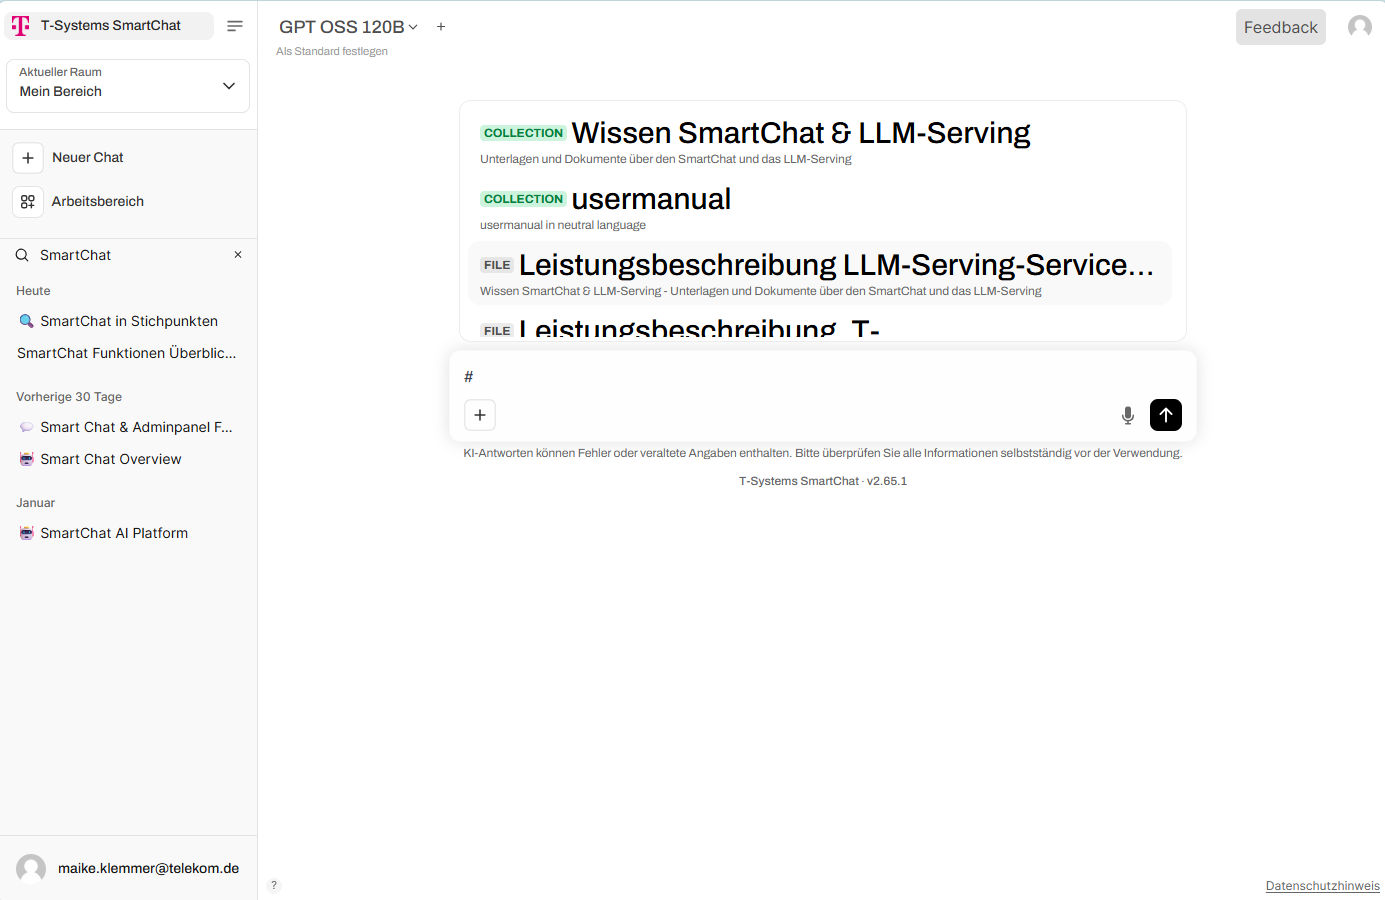
Creating knowledge collections
Section titled “Creating knowledge collections”Local knowledge collections can be manually created, edited, and searched via the “Knowledge” tab. Existing knowledge collections can be referenced within a chat using the hash key (#). Knowledge collections can also be attached as context to an assistant.
Creating and using assistants
Section titled “Creating and using assistants”“Assistants” are configurations tailored to specific use cases. An existing LLM is enhanced with knowledge, system prompts, and access rights within the organization, so it can be used for recurring tasks (e.g. summarizing emails and writing responses that comply with corporate guidelines).
Created assistants can be selected and used in the chat via the dropdown list, alongside base models.
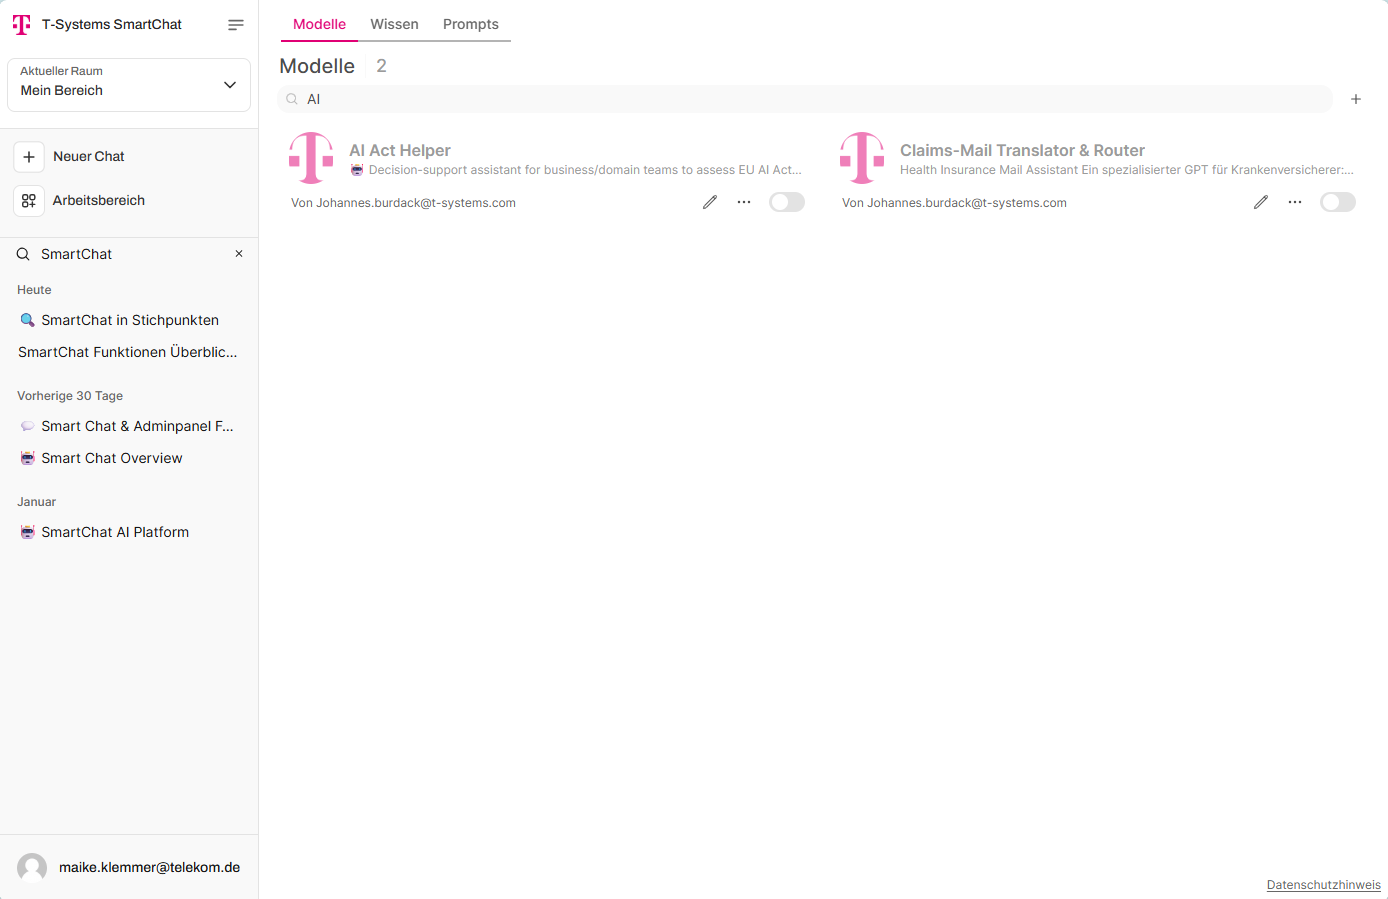
In the “Assistants” tab, you can create and edit assistants:
- Plus icon — add a new assistant
- Pencil icon — edit an existing assistant
- Toggle — activate/deactivate an assistant in the dropdown list
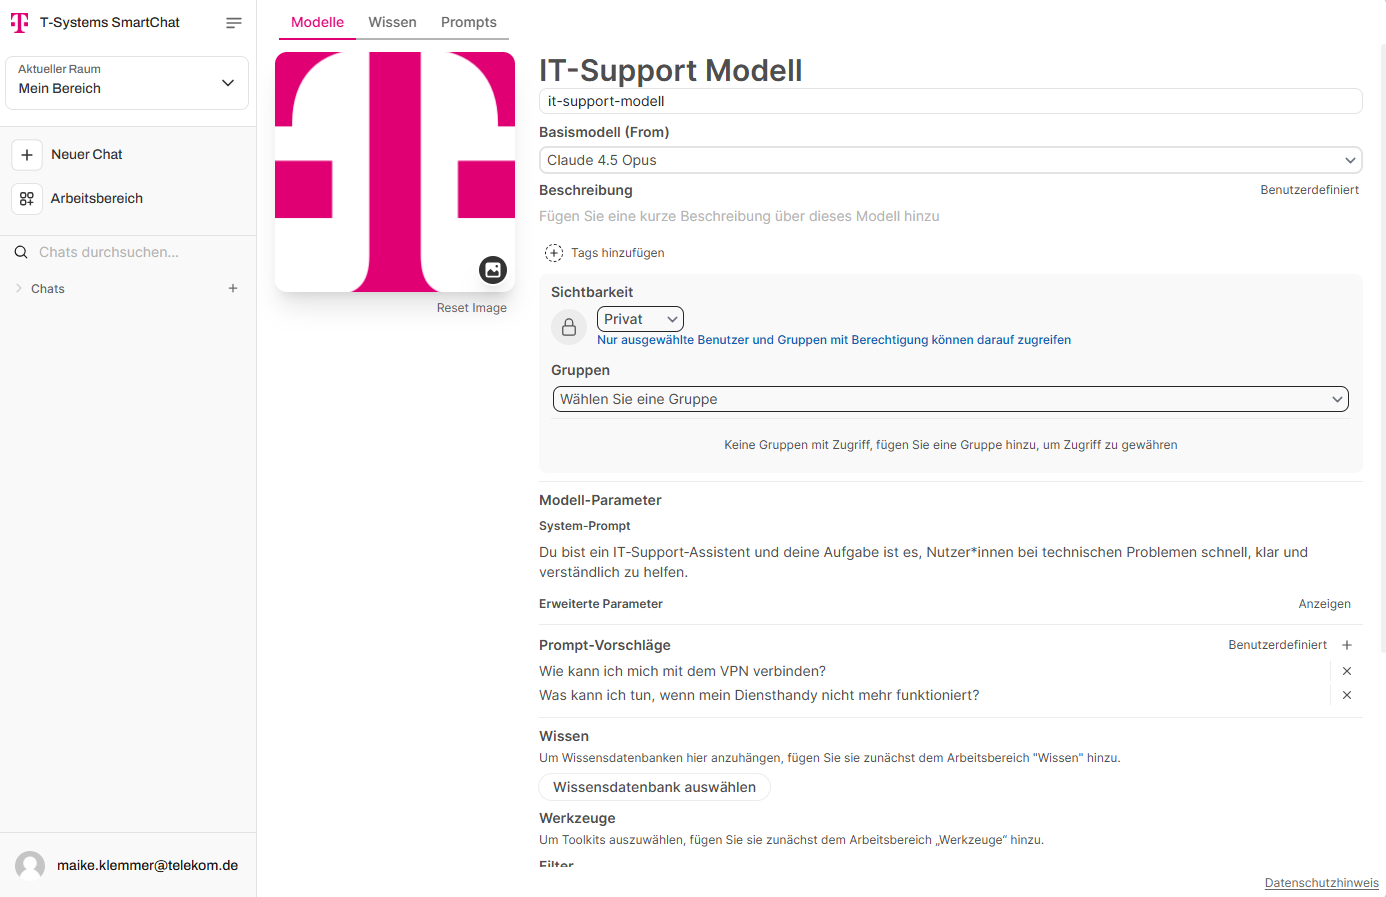
Access rights determine whether an assistant appears in the chat view (read access) or can also be edited in the workspace (write access).
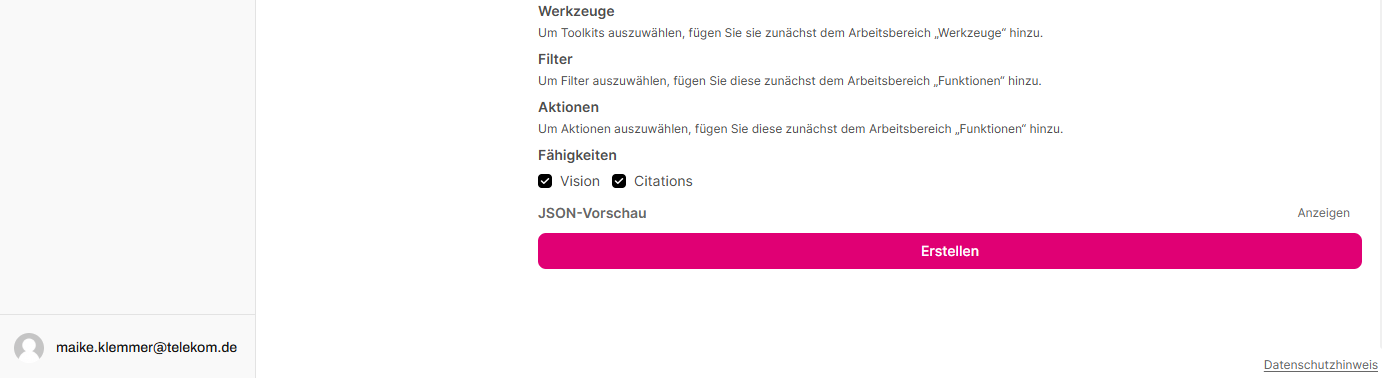
When creating an assistant, assign a name, description, and base model. The system prompt is the most powerful tool alongside the stored knowledge and defines the assistant’s general behavior. Knowledge collections must be created beforehand via the “Knowledge” tab. Prompt suggestions enable quick and intuitive usage.
Creating and using prompt templates
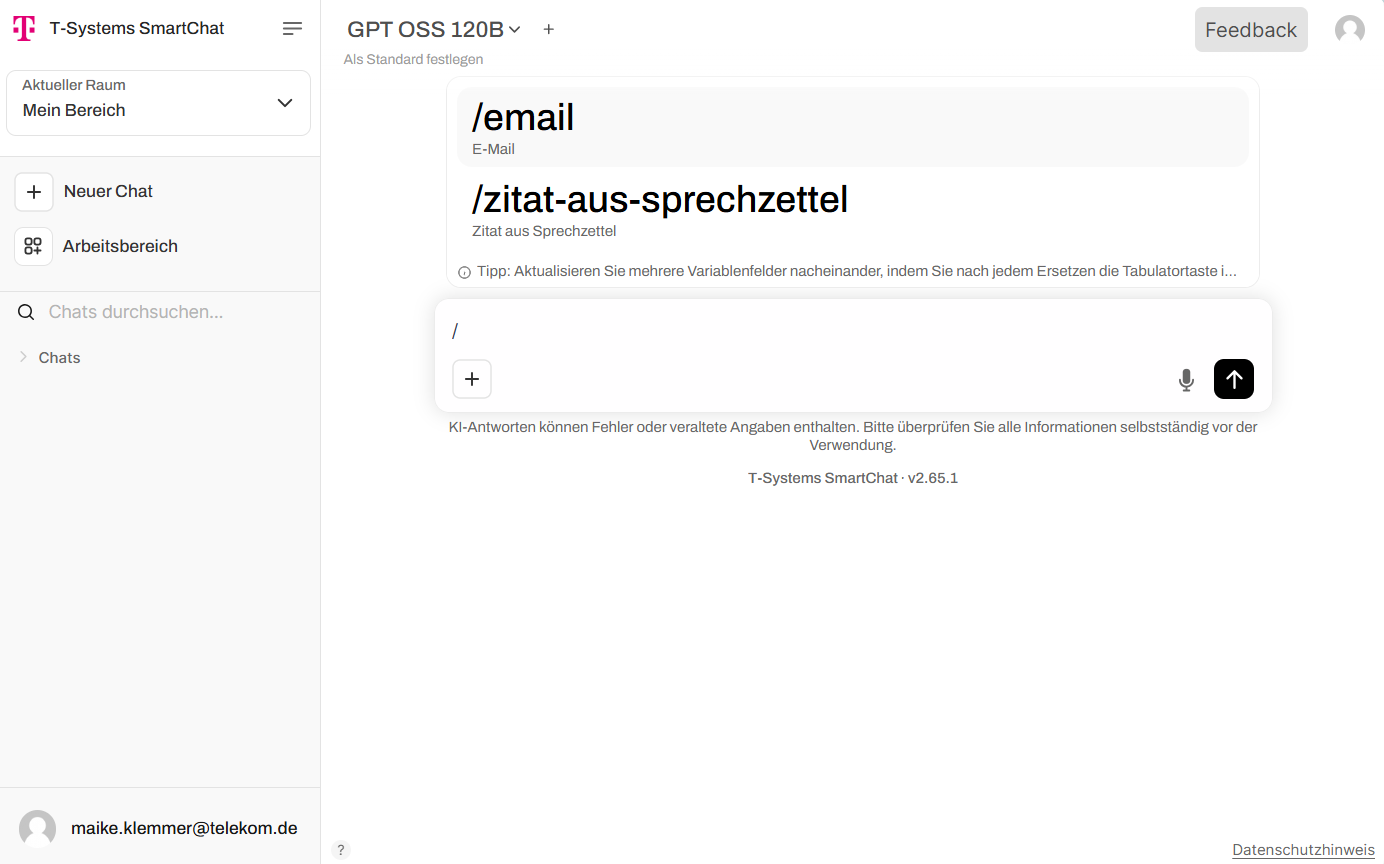
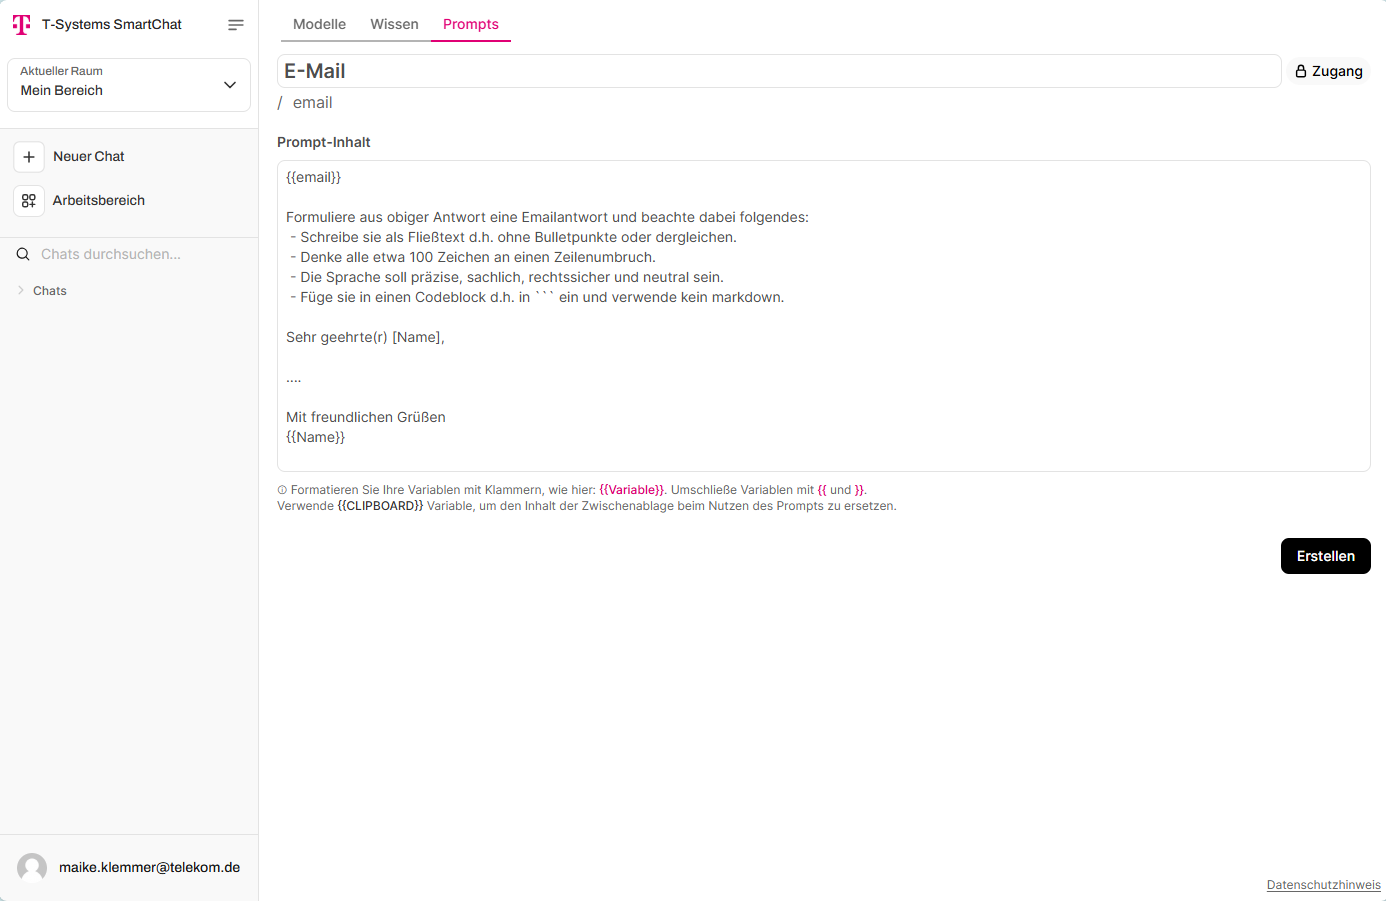
Section titled “Creating and using prompt templates”Prompt templates are blueprints for prompts. They can be created and edited in the workspace under “Prompts”. Use the plus icon to add a new template. As with assistants and knowledge collections, access can be configured via the “Access” button.
Prompt templates have a title and the actual prompt content below. Variables for values to be filled in later are declared with curly braces, e.g. Write an email to {{Name}}.
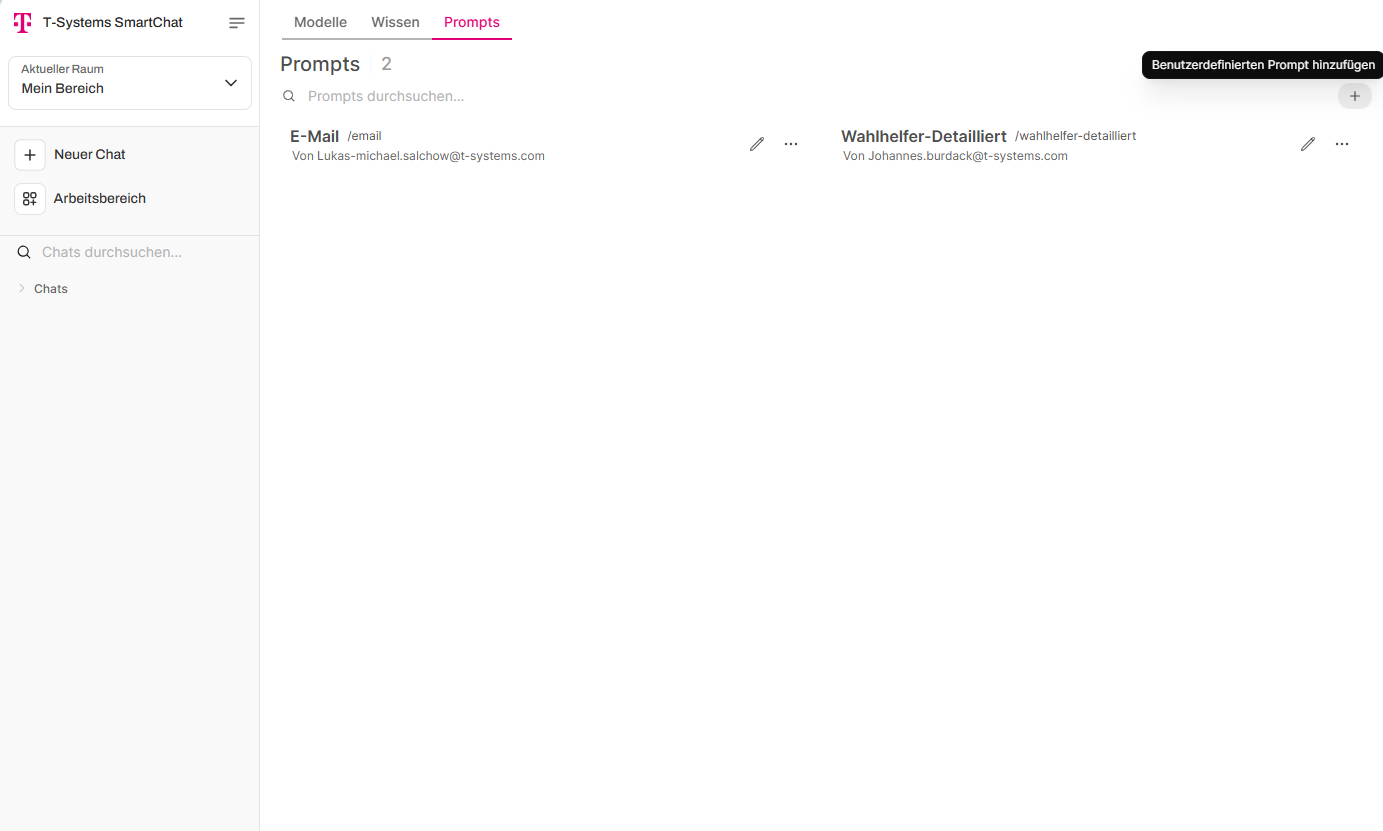
Existing templates can be invoked within a chat by typing the forward slash (/) and selecting the desired template from the dialog. Placeholders can then be filled with actual values.